Saturday 23 July 2011

Advanced Layering

This is the final step in doing my eWallpaper. Although the final output of my eWallpaper is not perfect but i did tried my best in doing it well.  Thank you <3


Drag the tittle of my eWallpape to a new image by using move tool

Clip the tittle with the new image by pressing Alt and click between the two layers in layer window
Then choose Merge visible
Outcome of applying Advanced layering


Finally done my eWallpapaer =]

Friday 15 July 2011

Retouching and Enhancing

This week i learnt the retouching and enhancing skills in lab. Now i would like to apply these skills to my eWallpaper :)


The original background which already hidden all the other layers.


Image > Auto Color to adjust the color of the background.

Brightness is set to -18 and Contrast remain 0.

Use the Clone Stand Tool to remove off the words on the board.


This is the result after removed all the words on the board by 
using Clone Stand Tool

Use the Horizontal Type Tool to insert word on the road sign.
Then, go to Layer > Layer Style and change the font style.


Layer Style >  Outer Glow (Opacity = 100, Spread = 50, Size = 10,
Range = 50) to create out glow effect on the words on the
road sign.


Final outcome for the sign board.

Filter > Render > Lightning Effect to create lightning effect 
on the words.


Lighting Effects( Intensity = 98, Narrow = 100, Material = 75, 
Exposure = 12, Ambience = 38) to create lightning effect
on the  road sign.


Final outcome for the lightning effect.


Final outcome for the whole retouching and enhancing part. -^^-


Layering (re-do)


Add another layer to the previous output of Selection Tool stage as background


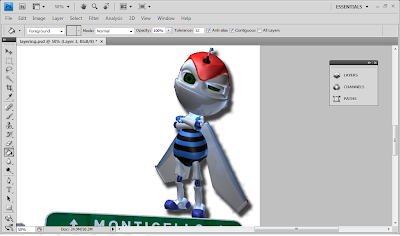
The original background without any effect added.


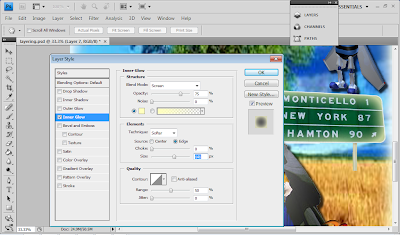
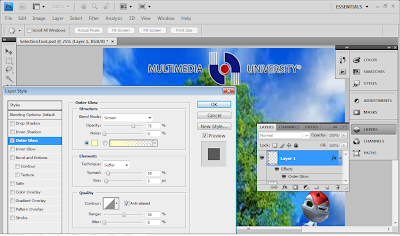
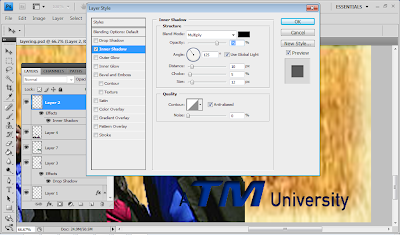
Inner effect of the background after changing the Layer Style >
Inner Glow ( Opacity = 75 , Choke = 10, Size = 150 )


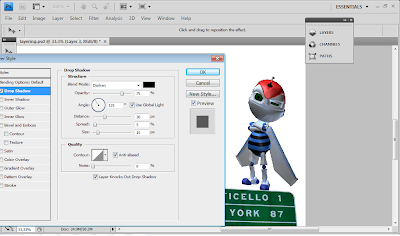
Layer Style > Drop Shadow ( Opacity = 75, Distance = 30, Spread = 5,
Size = 15 )
 to create shadow for the Ebee.

The shadow is successfully being created for the Ebee. ^^


The original road sign that are not edited yet.
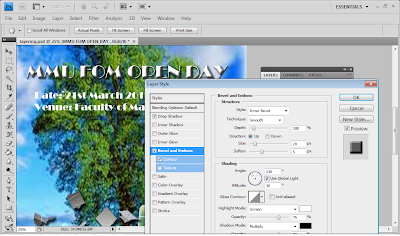
Layer Style >  Inner Glow ( Opacity = 75 , Size = 141 )  to
create a inner glow effect for the road sign. 


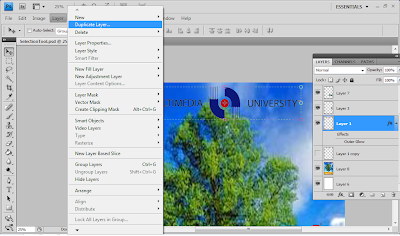
Layer > Duplicate Layer to create a shadow effect of the 
MMU logo by duplicating it.

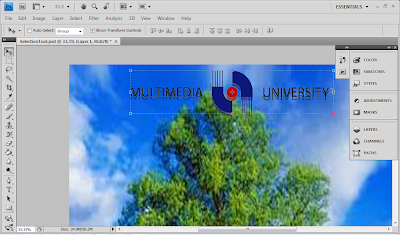
Shadow effect of the MMU logo by using duplicate layer.

Layer Style > Outer Glow (Opacity 75, Spread 10, Size 5, Range 50) to
create a white outer glow effect for the MMU logo.


TM logo without any effect or layering added.

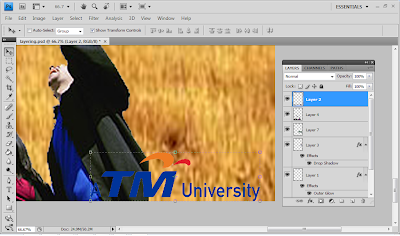
TM's logo after inner glow effect by changing the Layer Style >
Inner Glow (Opacity = 75 , Distance = 10, Choke = 5, Size = 12)

Layer Style > Outer Glow(Opacity = 75, Spread = 10, Size = 5, 
Range =50) to create a white outline on the TM logo.


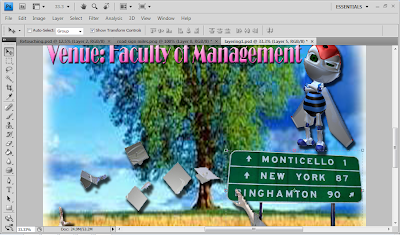
Use the Horizontal Type Tool to insert word on the background.
Then, go to Layer > Layer Style
 and change the font style.


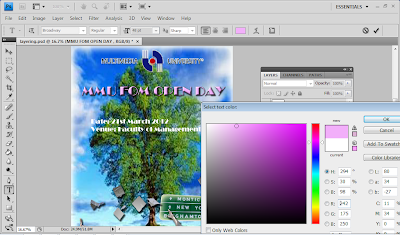
Then, go to Select Text Color to change the text's color.


This the final outcome of the Layering stage of my eWallpaper

Thursday 14 July 2011

Selection Tool (re-do)

Due to the unsatisfied outcome of the previous works, so I decided to re-do the selection tool and layering !!!


Use Magic Wand Tool to select the unwanted area of the 
MMU Logo and press the DEL button to remove it.


Zoom in by pressing CTRL & + and use Magic Wand Tool to
 remove those smaller unwanted part in the MMU logo.


Use Magic Wand Tool to select the unwanted area of the eBee
and press DEL button to delete it. You may adjust the tolerance to  define range of color can be erase.


Use Magic Wand Tool to select the unwanted area of the TM logo. 
Then Press the DEL button to remove it.

This is the final outcome for the TM logo.


Use Magic Wand Tool to select the blue background area
 and press DEL button to delete it.


Zoom in by pressing CTRL & + and use the Eraser 
Tool to erase the smaller part


Use Magic Wand Tool to select the unwanted background of the 
road sign and press DEL button to delete it.


Use the Rectangular Marquee Tool to select and DEL button 
to remove the bigger area of the unwanted part of the road sign.


Zoom in by pressing CTRL & + and use the Eraser
Tool to erase the smaller part


This is the final outcome for the road sign


Final Output of the selection  -^^-